Description
The Taxonomy field allows the selection of one or more taxonomy terms.
Screenshots

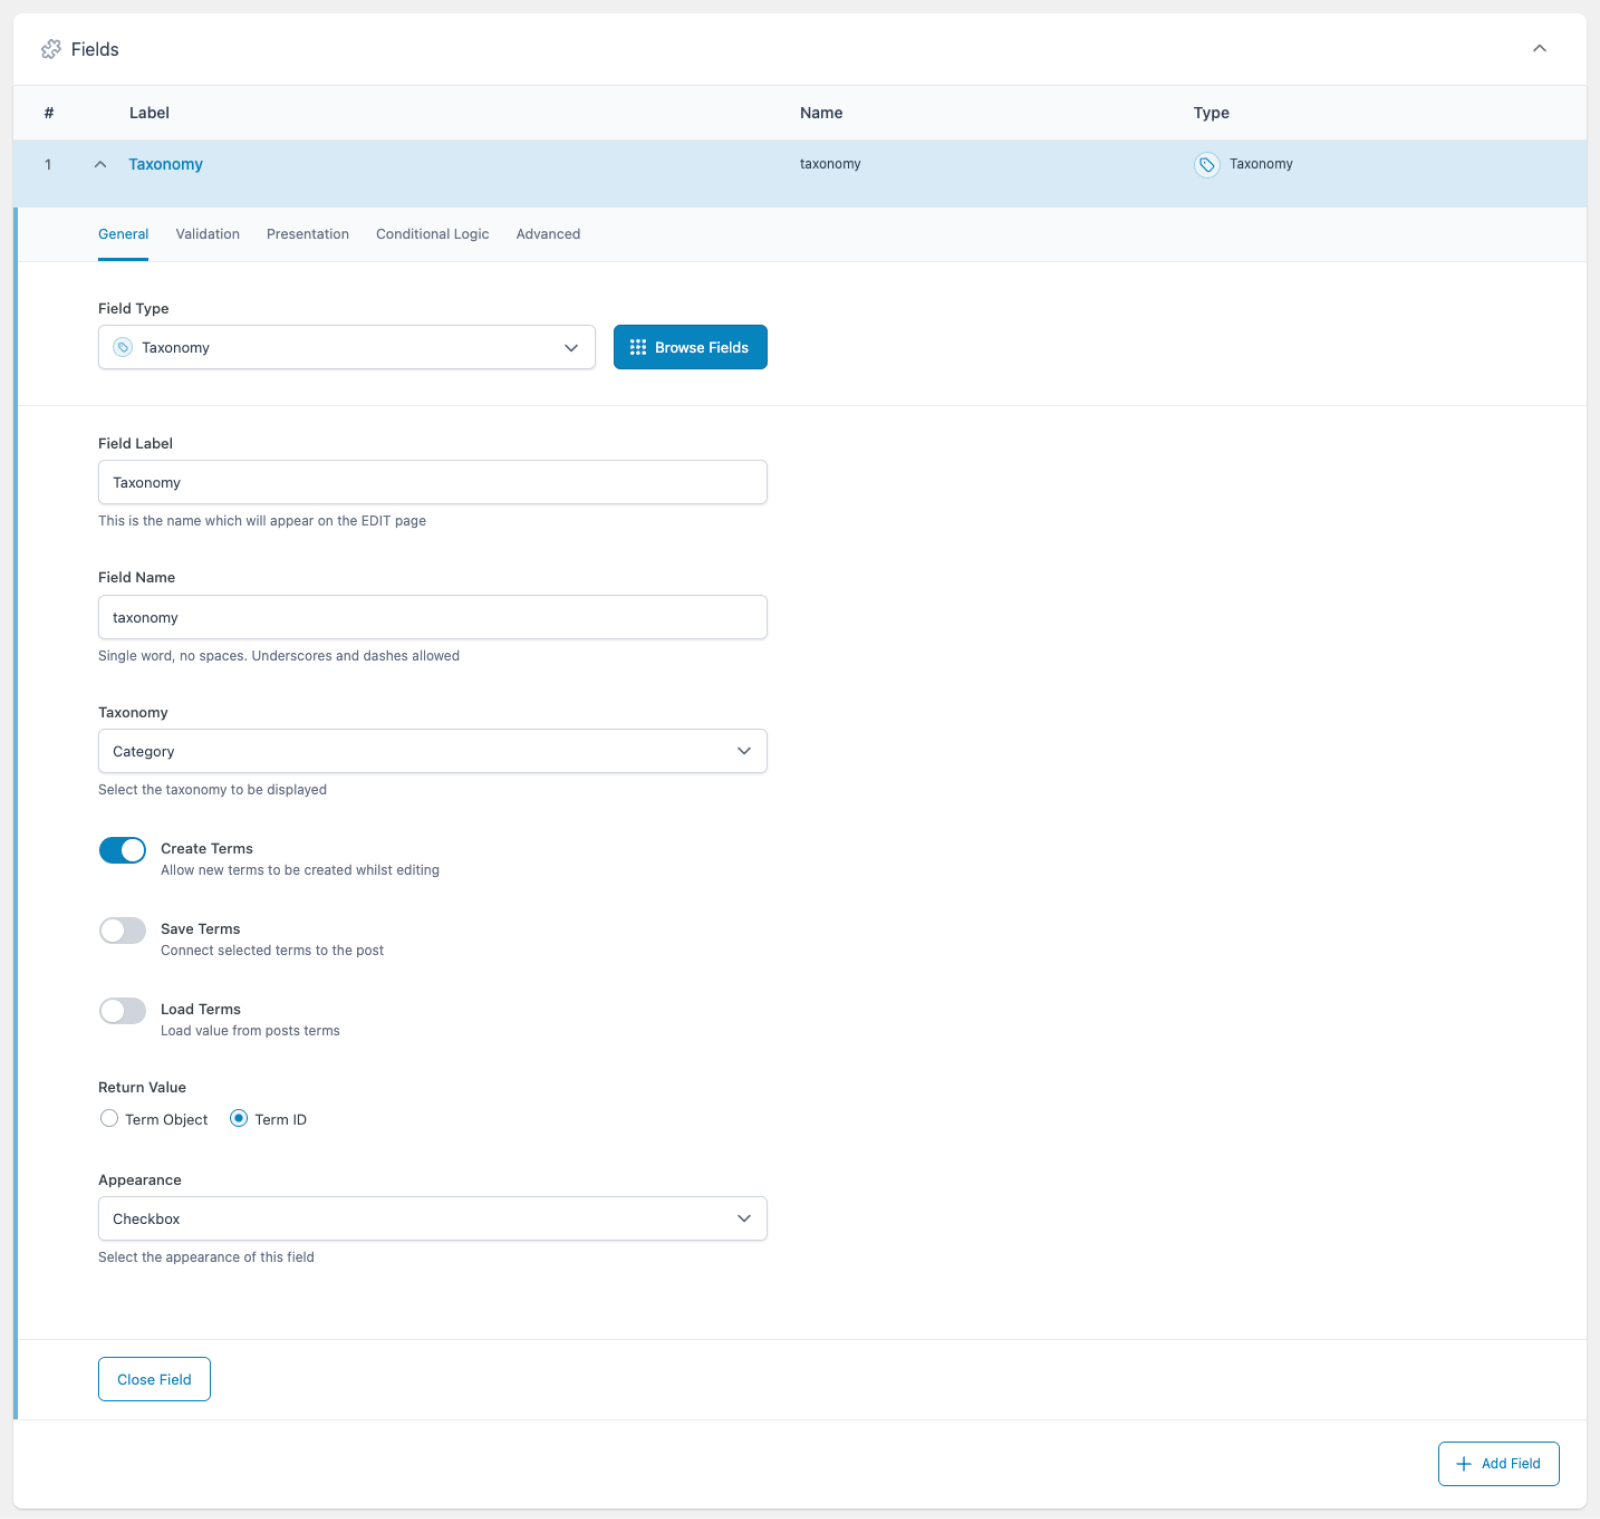
Creating a Taxonomy field in an ACF field group.

The Taxonomy field UI as it might appear to content editors, in this case showing parent and child categories.
Changelog
- Split setting
load_save_termsintoload_termsandsave_termsin version 5.2.7. Create Termsadded in version 5.2.3
Settings
Taxonomy
Selects the taxonomy you wish to select term(s) from.Create Terms
Allows new terms to be created while editing. Defaults to on.Save Terms
Connects selected terms to the post. Defaults to off.Load Terms
Loads values from the post terms. Defaults to off.Return Value
Specifies the format of the returned data. Choose from Term Object (WP_Term) or Term ID (int).Appearance
Selects the type of interface displayed (Checkbox, Multi Select, Radio Buttons, or Select).Required
Enabling this prevents the field from accepting empty values. Defaults to off.Instructions
Shows instructions when submitting data.Conditional Logic
Enabling this setting allows you to customize the logic which determines if the current field should be visible. Groups of conditional logic rules can be created to allow for multiple and/or statements.Bidirectional
Found on the Advanced tab, enabling this setting allows you to update a value in the target fields for each value selected for this field, adding or removing the Post ID, Taxonomy ID, or User ID of the item being updated. Please see Bidirectional Relationships for more information on using this setting to create bidirectional relationships directly in ACF’s UI.
Template usage
The Taxonomy field will return one or more values (objects or IDs) depending on the Return Value setting. Below are some examples of how you can use this data.
Display single value
This example demonstrates how to get and display a single term object. This would imply that your Appearance setting is Radio Buttons or Select.
<?php
$term = get_field('taxonomy_field_name');
if( $term ): ?>
    <h2><?php echo esc_html( $term->name ); ?></h2>
    <p><?php echo esc_html( $term->description ); ?></p>
<?php endif; ?>
Display multiple values
This example demonstrates how to get and loop over multiple selected term objects. This implies that your Appearance setting is Checkbox or Multi Select.
<?php
$terms = get_field('taxonomy_field_name');
if( $terms ): ?>
    <ul>
    <?php foreach( $terms as $term ): ?>
        <li>
            <h2><?php echo esc_html( $term->name ); ?></h2>
            <p><?php echo esc_html( $term->description ); ?></p>
            <a href="<?php echo esc_url( get_term_link( $term ) ); ?>">View all '<?php echo esc_html( $term->name ); ?>' posts</a>
        </li>
    <?php endforeach; ?>
    </ul>
<?php endif; ?>
Display values from a selected term
The Advanced Custom Fields plugin can be used to add custom fields to taxonomy terms. Building on this, the following examples demonstrate how to load a custom field value from a selected term value.
<?php
$term = get_field('taxonomy_field_name');
if( $term ): ?>
    <h2>Term name: <?php echo esc_html( $term->name ); ?></h2>
    <p>Term color: <?php the_field('color', $term); ?></p>
<?php endif; ?>
Notes
Customizing query args
The query arguments used to find and display taxonomy terms can be customized via one of the following filters depending on the Appearance setting of your Taxonomy field.
For Select and Multi Select, use the acf/fields/taxonomy/query filter.
For Checkbox and Radio, use the acf/fields/taxonomy/wp_list_categories filter.
Customization of Text
The text displayed for each taxonomy term can be customized via the acf/fields/taxonomy/result filter.
Supercharge Your Website With Premium Features Using ACF PRO
Speed up your workflow and unlock features to better develop websites using ACF Blocks and Options Pages, with the Flexible Content, Repeater, Clone, Gallery Fields & More.
