Overview
WordPress is a powerful CMS, but out-of-the-box it can lack flexibility when handling content types beyond standard posts and pages. While the default post types work well for typical blog content and static pages, you might need custom post types to organize more complex information. In this video, we’ll show how to use the Advanced Custom Fields (ACF) plugin to create a custom post type called “Cars” and associate additional data with it.
Why Create a Custom Post Type?
The default WordPress post types like Posts and Pages work well for simple content structures. However, they’re limited when managing posts with more complex data needs, such as products, events, portfolio items, or staff and team member listings. Custom post types provide flexibility, allowing you to structure and display complex information tailored to your website’s needs.
In this guide, we’ll create a “Car” custom post type that can handle specific car data, including details like price, mileage, and miles per gallon (MPG).
Step 1: Register a Custom Post Type for Cars
Our first step is to register a new post type called “Car” in the ACF plugin. Follow these steps:
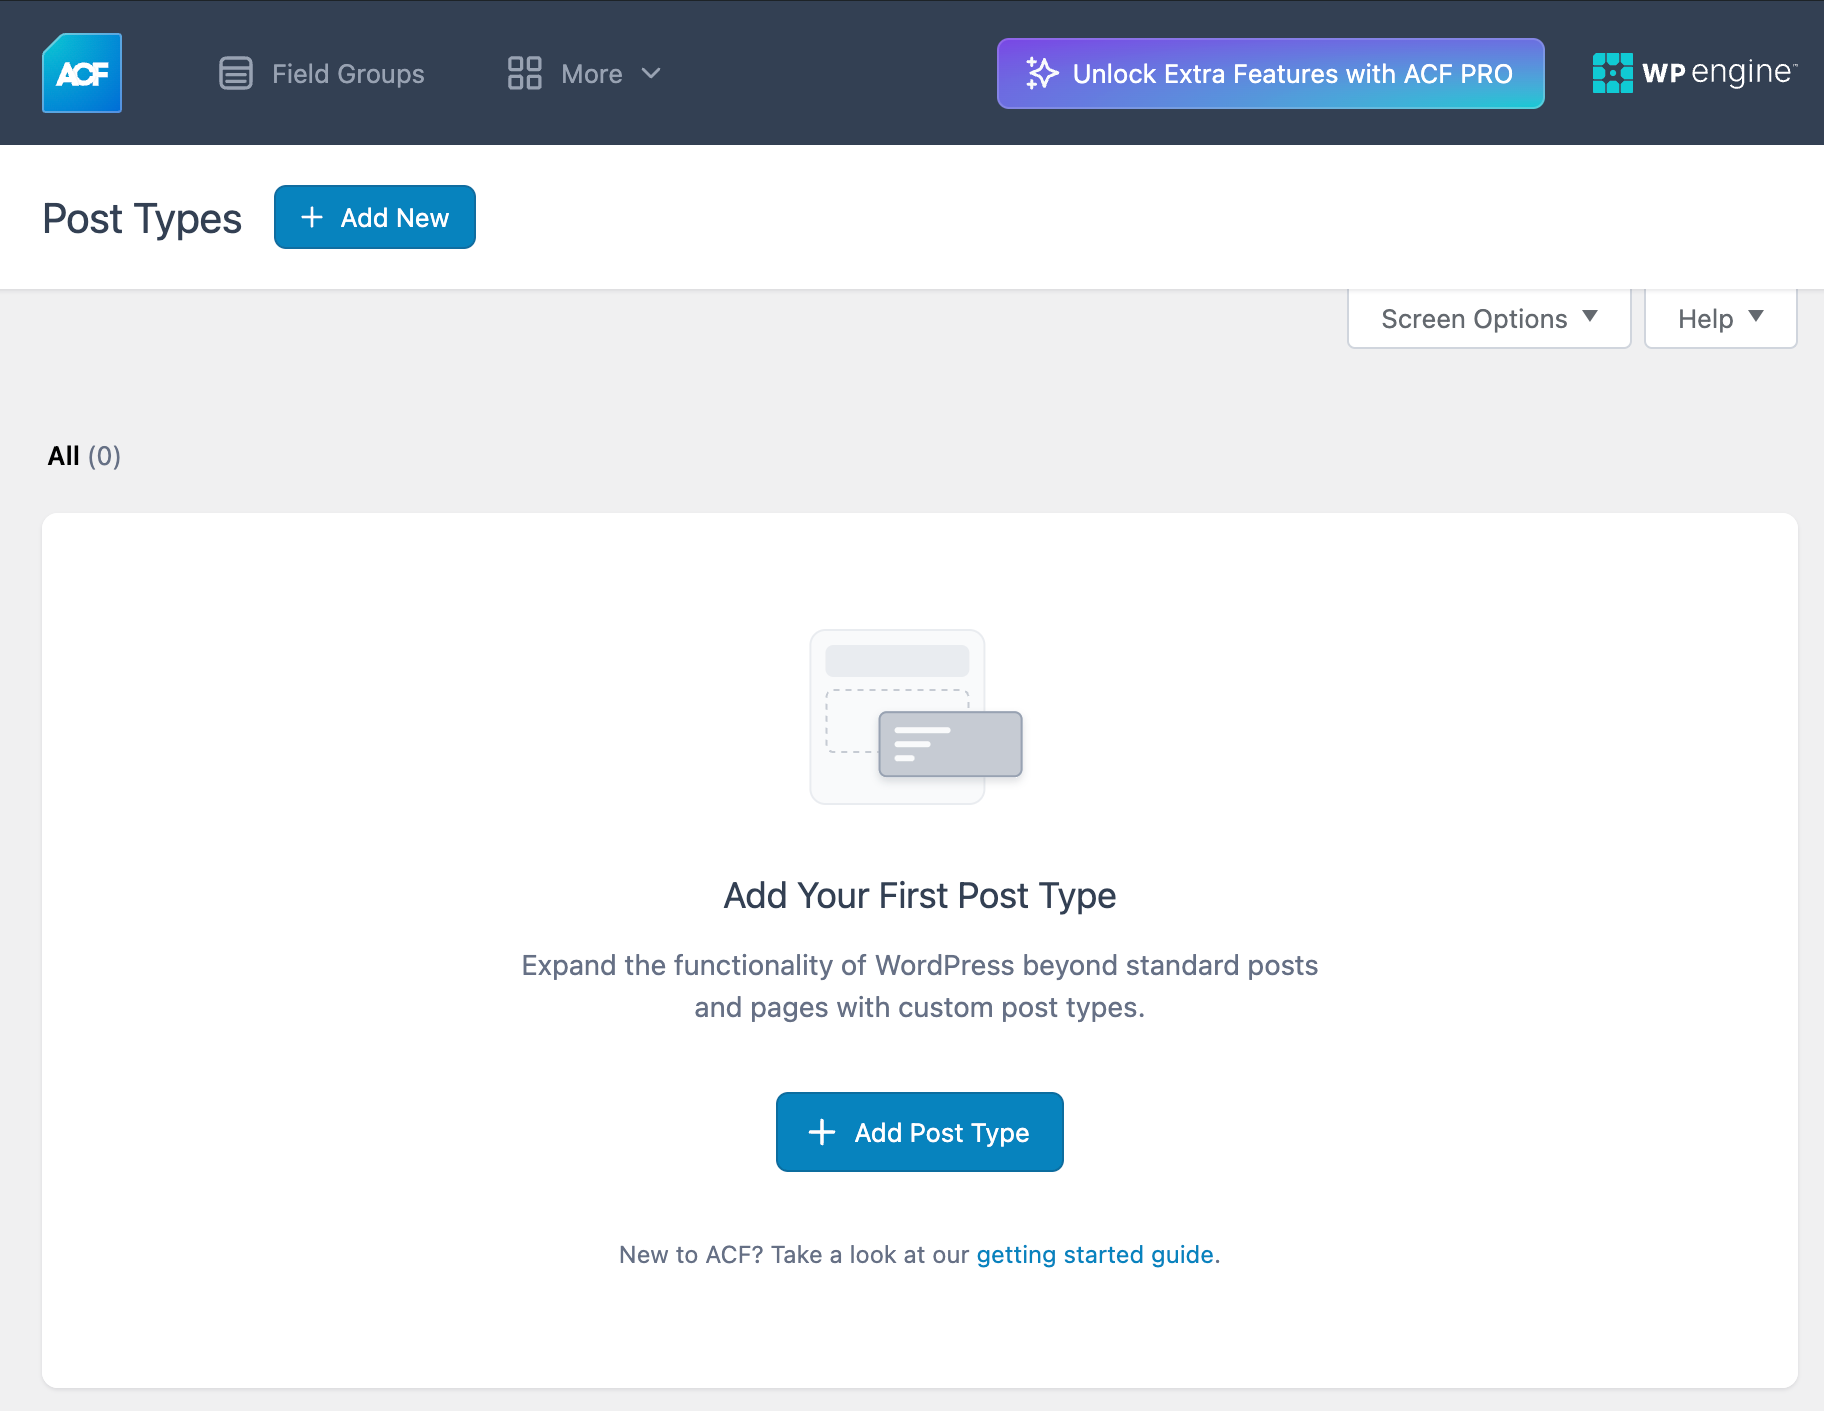
In the WordPress admin, go to ACF > Post Types and select Add New.
- Fill in essential details:
- Plural Label: Cars
- Singular Label: Car
ACF will automatically generate the post type key for you, but you can modify this if you wish. In the Advanced Configuration section, you can optionally add an icon representing the “Car” post type in the WordPress admin menu.
Click Save Changes to save your custom post type.
For more details and advanced options including visibility, URLs, permissions, and REST API settings, please see ACF’s guide on registering custom post types.

Step 2: Add Your First Car Post
Once the “Car” post type is registered, you can add your first post:
In the Cars section of the WordPress admin, click Add Car.
Enter the post’s title, add a description, and assign a featured image.
Save your post.
At this point, the post displays basic information, but doesn’t show the specific car details we want to include. To get those, we’ll need to create a child theme and then add ACF custom fields.
Step 3: Create a Child Theme to Customize Display
To customize how the custom post type displays, you’ll need to create a child theme. This allows you to add custom templates without modifying the original theme.
Create a new folder in your
wp-content/themesdirectory named “ACF Demo.”Inside the folder, create two files:
functions.phpandstyle.css.
After activating your child theme in the WordPress admin, you’ll have a dedicated space for customizations.
Step 4: Register Custom Fields for the Custom Post Type
Now that you have your Car post type and child theme, it’s time to register custom fields for your car-specific information.
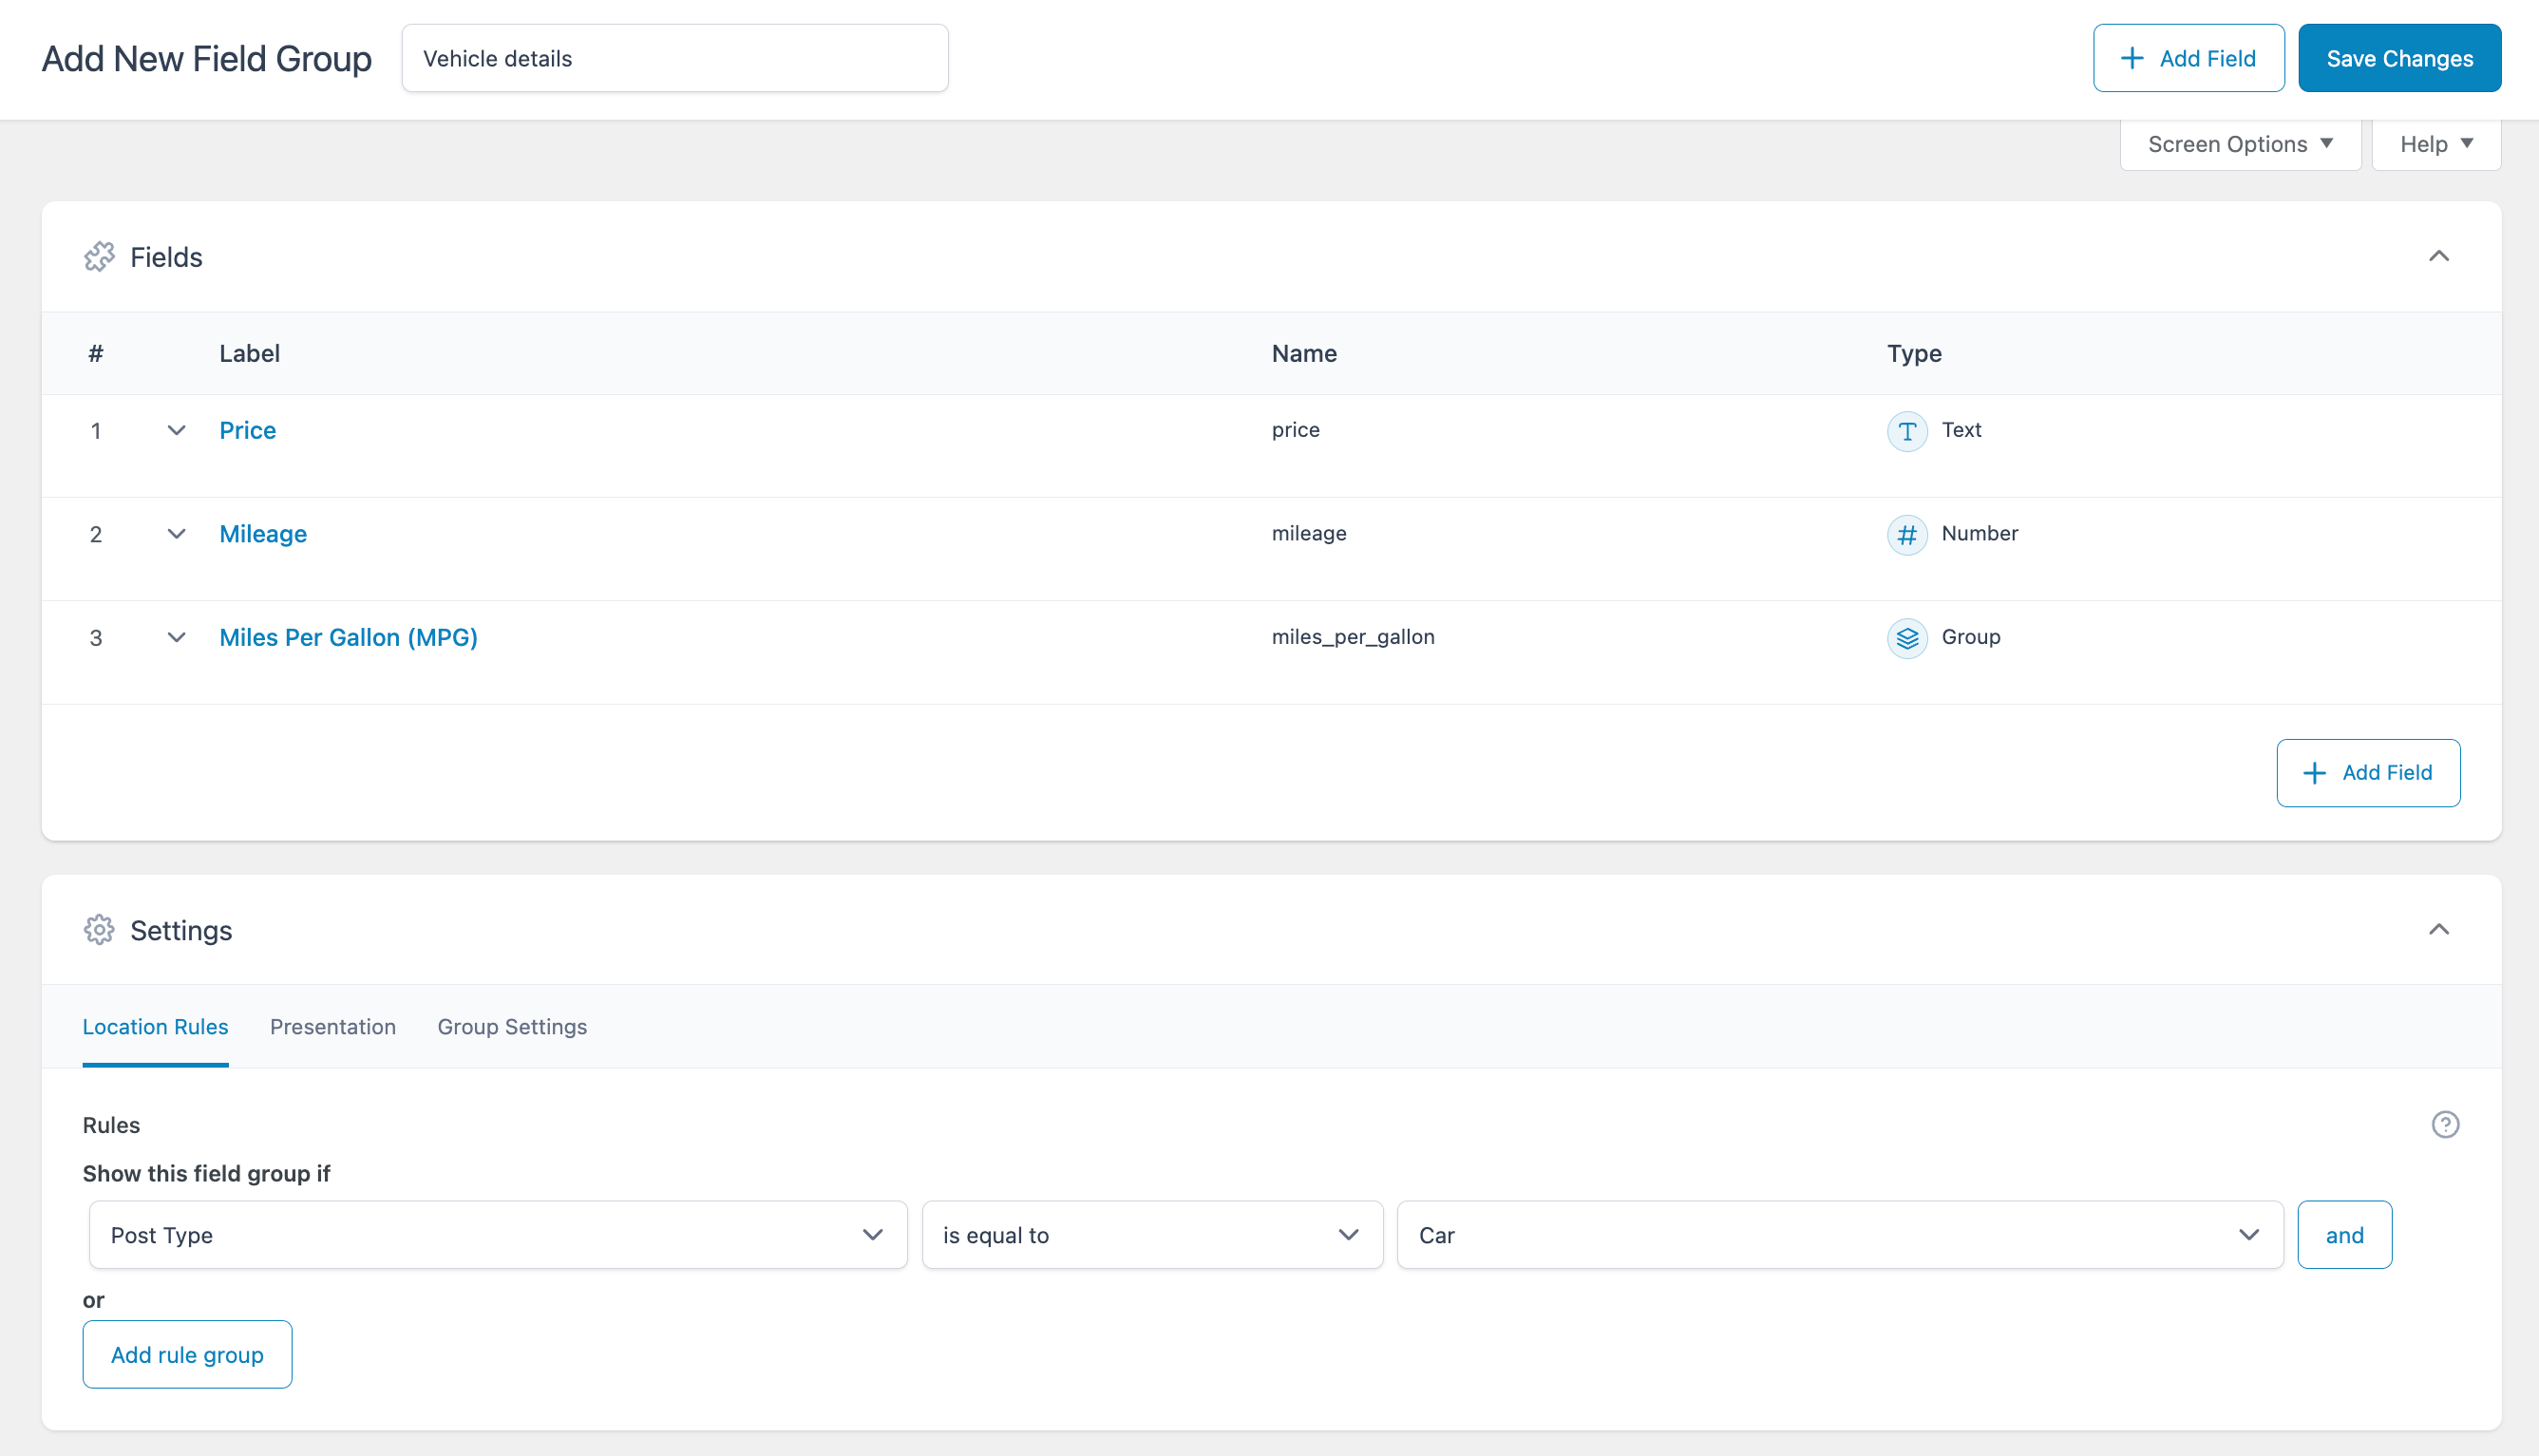
Navigate to ACF > Field Groups and choose Add New.
Name the field group “Vehicle details.”
Under Location Rules, set the group to appear only when the “Post Type” is equal to “Car”.
Add the following fields:
- Price: Use a Text field. Click on the Presentation tab and enter “$” in the “Prepend” section.
- Mileage: Use a Number field, and click the Presentation tab. Enter miles in the “Append” section to make it clear for editors.
- Miles Per Gallon (MPG): Use a Group field, and create sub fields for City MPG and Highway MPG using Text fields.
After configuring the fields and location rules, be sure to save your field group.

Step 5: Output Custom Field Data in the Theme
With your fields ready, the next step is to display this information on your WordPress site. The steps below outline the process for how to do this.
Copy the
single.phpfile from the original theme and paste it into your child theme folder.Rename it to
single-car.phpto tailor it specifically to “Car” posts.In
single-car.php, Remove any unnecessary logic and instead reference the custom field values for Price, Mileage, and MPG.Consider using HTML and CSS in
single-car.phpto further customize how this information appears.
For a more in-depth view on the exact modifications made, please make sure to check out the full codebase on GitHub, and experiment with adding and removing your own field types.
Final Thoughts
With these steps, you’ve successfully created a custom post type, added specialized fields, and customized how the content is displayed. ACF provides highly tailored data management with over 30 custom fields and custom post type creation directly in the plugin’s UI.
ACF also lets you register and manage custom taxonomies in WordPress, allowing for more precise and flexible content organization, enhancing user experience, search engine optimization, and content management by providing tailored categorization beyond the default categories and tags. The next video shows to create custom taxonomies with ACF and add them to custom post types.
Supercharge Your Website With Premium Features Using ACF PRO
Speed up your workflow and unlock features to better develop websites using ACF Blocks and Options Pages, with the Flexible Content, Repeater, Clone, Gallery Fields & More.
Related
- Videos: Creating a Custom Taxonomy with ACF
- Tutorials: Registering a Custom Post Type
- Videos: ACF Unlocks the True Power of WordPress
- : Frequently Asked Questions
- Getting Started: Post Types and Taxonomies

